Your first week on the Android app
The same first-week walkthrough, run entirely from your phone — verify, sign in, first customer/item/sale, publish on Wildfire, and follow up.
Your first week on MatSmartShop (Android), run entirely from your phone.
Your first week from your phone: from the confirmation email to your first sale, your first published product, and your first follow-up text. The same seven steps as the Web Welcome Pack, run from the app instead.
Worked examples in this pack use three of your own customers — Dozie, Adaora and Kenneth — the same names used across the rest of the manual set.
1. Confirm your email and sign in
The confirmation email arrives the moment your shop is created, whichever app you registered from. Open it on any device and tap Verify Email Address — it doesn't have to be the phone.
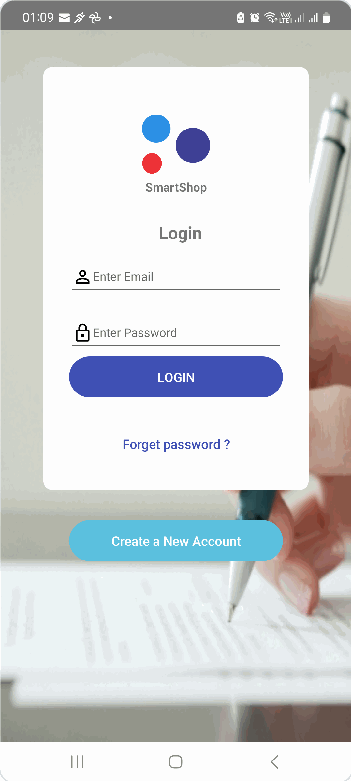
Then, on your phone, install MatSmartShop from the Play Store and sign in with the same email and password as the website.
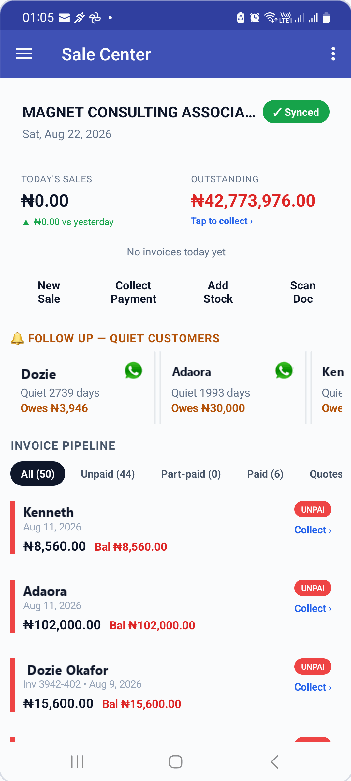
The menu (drawer icon, top left) is where every other step in this pack lives — Customers, Inventory, Vendors, Customer Follow-Up and Wildfire are all in there.
2. Bring in your first customer
The fastest way in is inline, right when you make a sale — which is Step 5. Start a Quick Sell and tap the customer row: a picker opens with a search box and a New Customer option right at the foot, alongside Cash Walk-in.
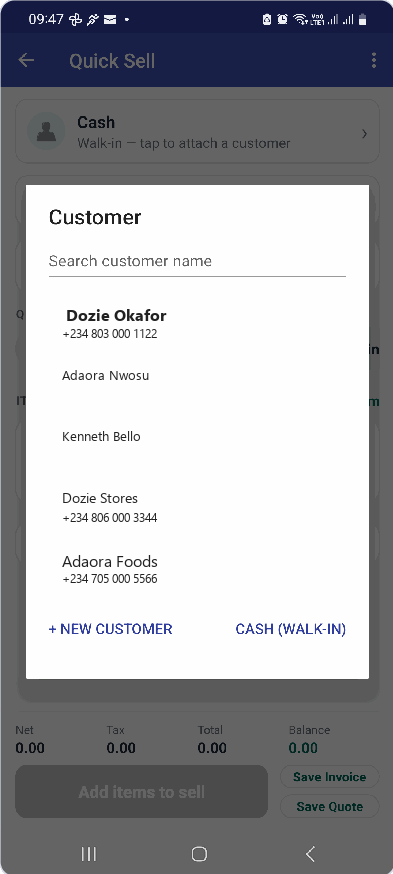
Everyone you add shows up in Customers → Customer Center, with their balance and full transaction history.
3. Bring in your first vendor
Vendors are a web-only idea, full stop — the phone doesn't track who you bought from at all, not even as a field on a purchase. Create your first vendor on the web, in Vendors & Transactions → Create Vendor (see the Web Welcome Pack, Step 3); that vendor's outstanding balance and history live entirely there.
What the phone does let you do is record the stock-and-cost side of a delivery. Open Inventory → Purchase List and tap ENTER PURCHASE — this opens the item picker (labelled “Inventory List,” which is a little confusing since it's the same screen you browse stock from).
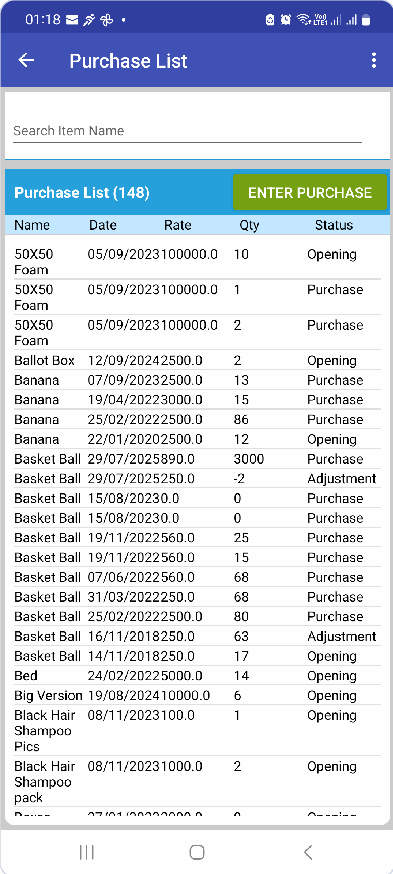
Tap the item, then on its Item Detail screen tap Restock and choose Add Purchase from the menu that pops up — that's what actually opens the purchase-entry form.
The form itself is short — just date, purchase price and the quantity you're adding; sales price is shown read-only, pulled from the item. There's no payment type and no paid-amount field here either, because there's no vendor to owe — recording a delivery on the phone only ever updates stock and average cost, never a balance. If you need to track what you owe a vendor for it, that half of the transaction belongs on the web.
4. Add your first item
Open Inventory → Inventory List and tap ADD ITEMS.
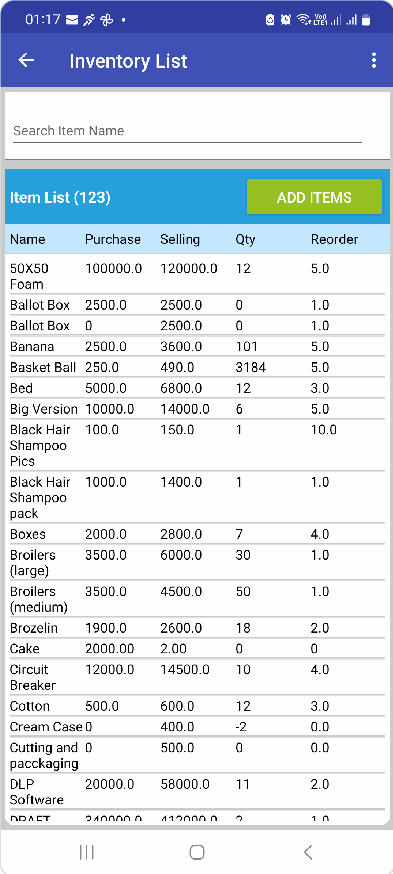
Fill in the item name, purchase rate, selling rate, and opening quantity if you're carrying stock today. A photo is worth adding here too — it follows the item into every picker, including the storefront listing in Step 6.
5. Create your first transaction
Quick Sell is the fastest path to a sale on the phone — built for ringing something up in a few taps at the counter. From Sale Center, tap New Sale.
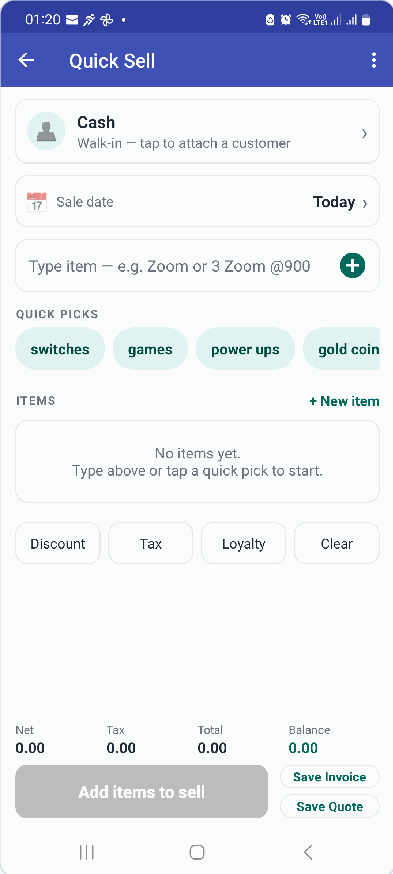
Pick your customer (Step 2, done inline), type or tap in the item, and the line loads with the footer totals updating live.
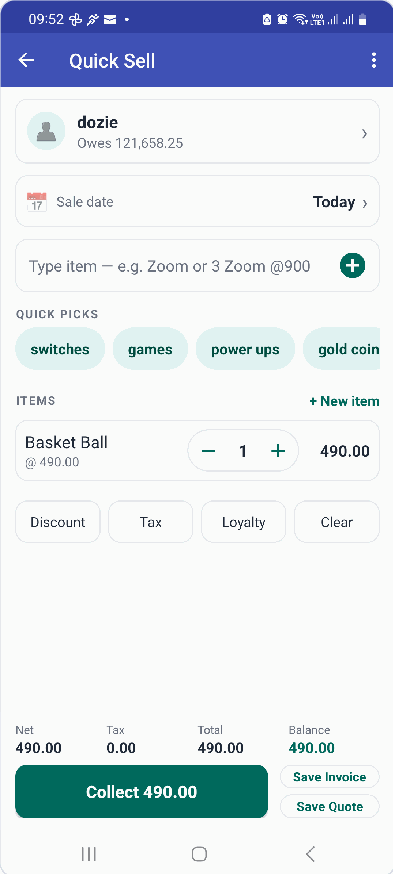
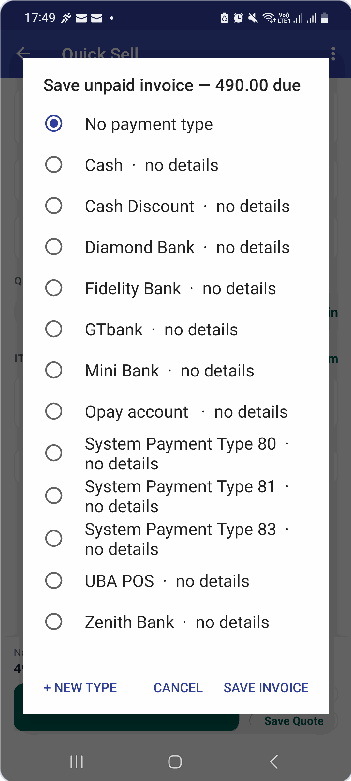
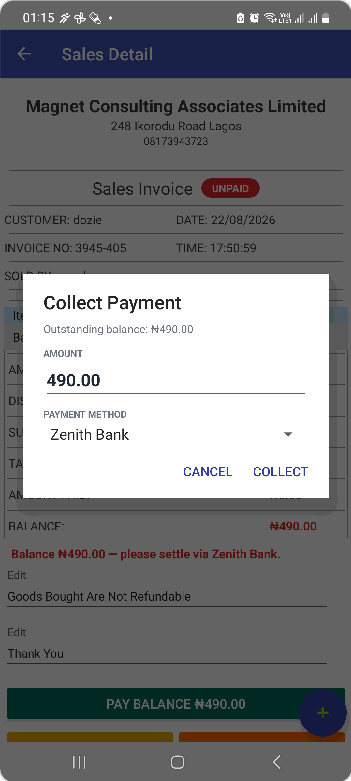
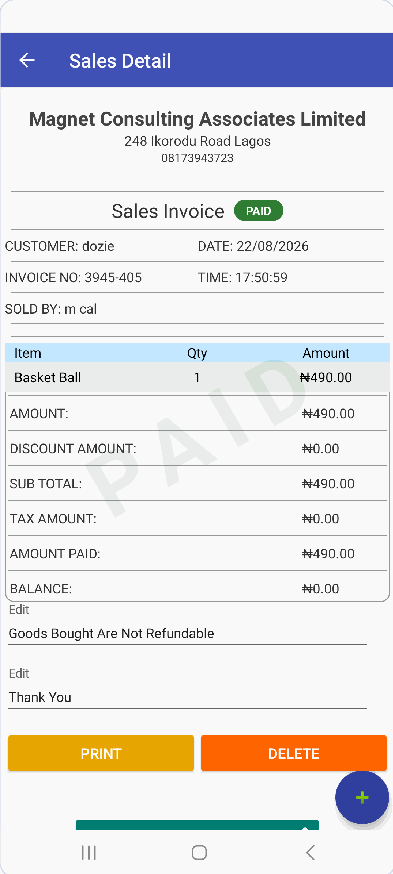
Tap Collect, choose a payment type, and save. The invoice is ready immediately, showing whatever balance is left.
6. Publish and share your first item on the storefront
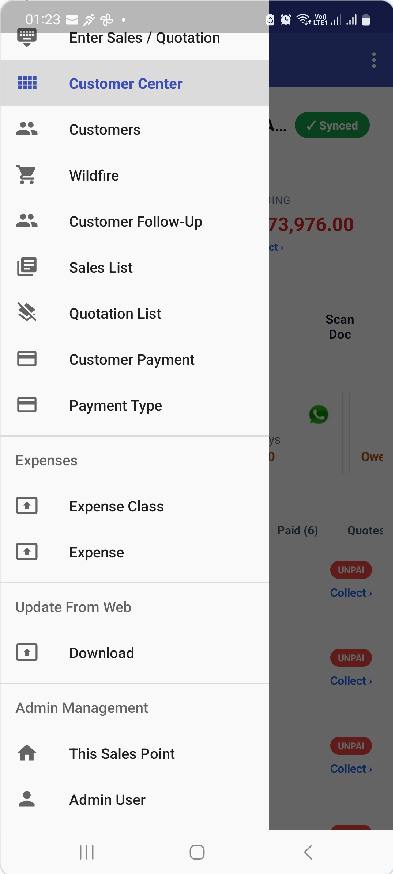
Publishing lives on the web. From the menu, tap Wildfire — it opens your storefront back office, the same tool covered in the Web Welcome Pack and the Merchant Storefront Manual.
Sell on the phone, administer on the web. The phone is built for the counter; publishing a product, setting categories and delivery fees, and sharing your store link are all full-featured on the website and are covered step by step in the Web Welcome Pack, Step 6.
7. Set up your first follow-up SMS
Open Customer Follow-Up from the menu — the full composer is here on the phone too, working the same way as the website: four audiences (Open Balance, Gone Quiet, Bought Once, Birthdays) across the top, filters, tokens, a live preview against a real customer, and the cost stated before you send.
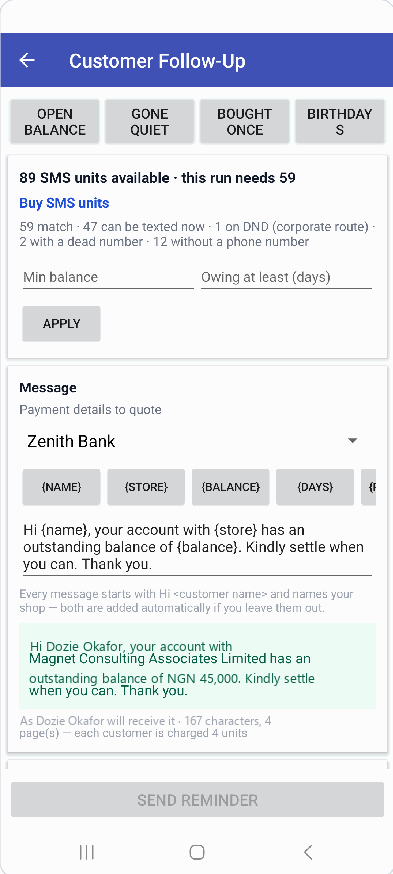
- Set your Min balance and Owing at least (days) filters, then Apply.
- Check the message and the live preview — a greeting and your store name are added automatically, so don't write your own opener.
- Confirm the character/page count (SMS is billed per page), then tap Send Reminder.
Separately, the Sale Center home screen also carries a Follow Up — Quiet Customers carousel with a one-tap WhatsApp button on each card — a free, immediate nudge alongside the priced SMS tool above, good for a quick personal message without spending SMS units.
What's next
You've now touched every core screen on the phone. For the detail behind each step, these are your companion manuals:
| Topic | Manual |
|---|---|
| Sale Center, Quick Sell, Inventory, Customers, admin and permissions in full | Android Manual |
| Sales, invoices, payments, Customer Center in full | Sales & Customers Manual |
| Items, stock, purchases vs. adjustments, reorder levels | Items & Purchases Manual |
| Full storefront setup, publishing, back orders, orders | Merchant Storefront Manual |
| Customer Follow-Up in full, including Automate and History | Customer Follow-Up Manual |
| Running the same seven steps from a browser | Web Welcome Pack |